240sx manual transmission swap
Considering a manual transmission swap for your Nissan 240SX? This popular modification enhances driving engagement. Enjoy greater control over power delivery and gear changes, improving the overall driving experience. This guide provides a step-by-step approach, ensuring a successful swap.
Why Choose a Manual Transmission Swap?
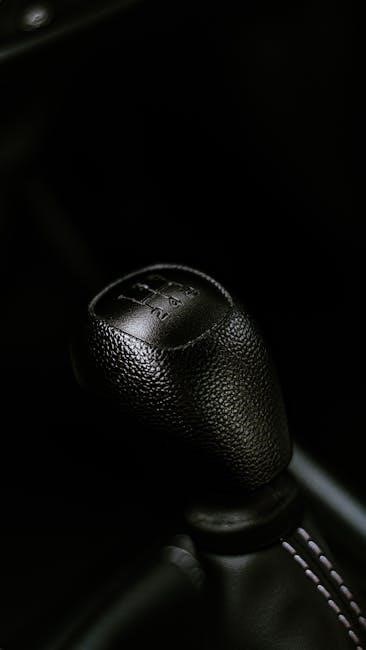
Swapping from an automatic to a manual transmission in your 240SX offers several compelling advantages, making it a popular modification. The primary reason many enthusiasts opt for this conversion is the enhanced driving experience. A manual transmission provides a more direct and engaging connection between the driver and the car. You gain precise control over gear selection, allowing you to optimize the engine’s power output for various driving conditions.
This direct connection enhances the feeling of being in control, making driving more enjoyable and rewarding. Furthermore, a manual transmission can improve the car’s performance. With the ability to choose the optimal gear for acceleration or deceleration, you can achieve quicker response times and more efficient power delivery. Beyond performance, a manual swap can offer increased reliability compared to older automatic transmissions, especially those prone to failure. For those seeking a more immersive and performance-oriented driving experience, a manual transmission swap is a worthwhile upgrade.

Essential Parts for the Swap
A successful 240SX manual transmission swap requires careful parts selection. Key components include the transmission itself, clutch kit, flywheel, driveshaft, and ECU. Each part must be compatible with your specific 240SX model year.
Manual Transmission Options (KA24DE/SR20DET)
When undertaking a manual transmission swap in your 240SX, selecting the appropriate transmission is crucial. For KA24DE engines, the 240SX 5-speed manual transmission is a direct bolt-on. Ensure compatibility based on your car’s year, as slight variations exist. Some consider using transmissions from Nissan trucks with KA24 engines. However, these may require modifications due to different lengths and shifter positioning.
For SR20DET swaps, the SR20DET transmission is the ideal choice. These transmissions are designed to handle the increased power output of the SR20DET engine. When sourcing an SR20DET transmission, verify its condition and origin to avoid potential issues. Avoid using automatic transmissions from 90s Nissan Altimas as they are not compatible.
Consider the gear ratios and overall condition of any used transmission. A well-maintained transmission will ensure a smoother and more reliable driving experience after the swap. Research and compare available options to find the best fit for your needs and budget.
Clutch and Flywheel Selection
Choosing the right clutch and flywheel is essential for a successful manual transmission swap. The clutch transfers power from the engine to the transmission, while the flywheel provides a surface for the clutch to engage. For KA24DE engines, use a clutch and flywheel designed for the 240SX manual transmission. Several aftermarket options offer improved performance and durability.
For SR20DET engines, select a clutch and flywheel specifically designed for the SR20DET transmission; These components must handle the higher torque output. Upgraded clutches, such as those with stronger pressure plates and organic or ceramic friction materials, are popular choices for SR20DET swaps.
Consider the driving style and power goals when selecting a clutch. A heavier-duty clutch offers better holding power but may result in a stiffer pedal feel. Ensure the flywheel matches the clutch type and is properly balanced. Always use new bolts and follow the manufacturer’s torque specifications during installation.
Driveshaft Considerations
Driveshaft length is crucial when performing a manual transmission swap in a 240SX. The automatic transmission driveshaft is a different length than the manual transmission driveshaft. Therefore, you’ll need to either source a driveshaft from a manual 240SX or have your existing driveshaft modified.
If using a KA24DE transmission, a driveshaft from a manual 240SX with a KA24DE engine should work directly. However, if swapping to an SR20DET transmission, the driveshaft length may need adjustment. Measure the distance between the transmission output flange and the differential input flange to determine the correct length.
Consider the driveshaft’s condition. Inspect the u-joints for wear and replace them if necessary. A worn driveshaft can cause vibrations and noise. Ensure the driveshaft is properly balanced to prevent issues. Some choose to upgrade to a stronger, aftermarket driveshaft for increased durability, especially with higher horsepower applications.
ECU Requirements and Compatibility
The ECU plays a vital role in a successful 240SX manual transmission swap. Automatic ECUs and manual ECUs differ significantly. The automatic ECU controls the transmission functions, which are no longer needed after the swap. Retaining the automatic ECU can cause issues and error codes.
Ideally, you should source an ECU from a manual 240SX that matches your engine (KA24DE or SR20DET) and model year. The ECU’s year must match that of your car (e.g., a 1995 ECU for a 1995 240SX). Some model years might be interchangeable with minor modifications, like re-pinning.
Alternatively, consider an aftermarket ECU. These offer greater tuning capabilities and flexibility, especially for modified engines. However, they require more expertise for setup and configuration. Ensure the chosen ECU is compatible with your engine and wiring harness. Proper ECU selection is critical for optimal performance.

Installation Process
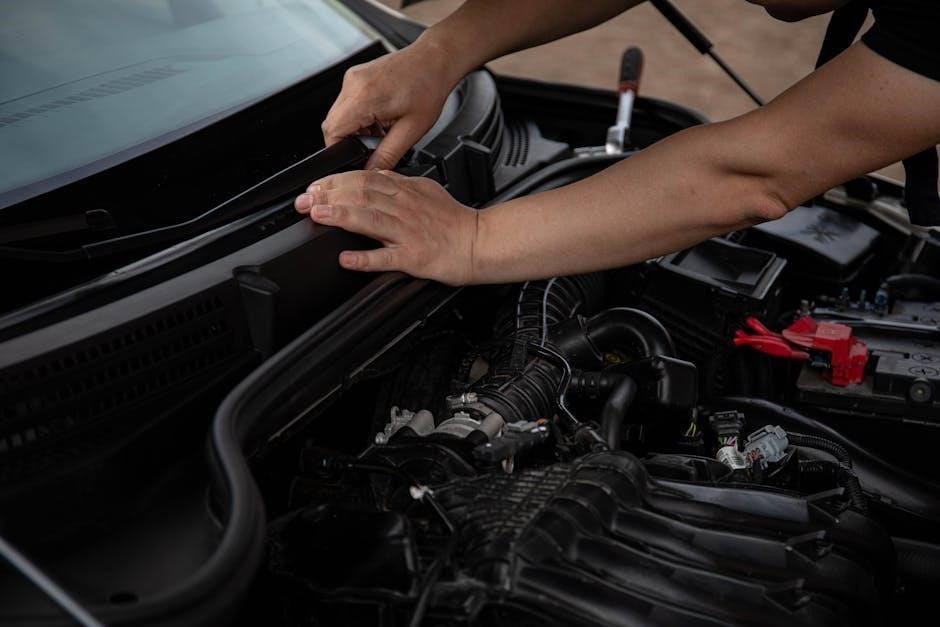
The installation process involves several key steps. It starts with removing the automatic transmission. Then, you will install the manual transmission. Finally, you will perform wiring and electrical adjustments. This process requires careful attention and some mechanical skill.
Removing the Automatic Transmission
Removing the automatic transmission from your 240SX is a critical first step in the manual swap. Begin by safely elevating the vehicle, ensuring it’s securely supported on jack stands. Disconnect the battery to prevent any electrical mishaps during the process. Next, drain the transmission fluid to avoid spillage and mess.
Carefully disconnect all electrical connectors and vacuum lines attached to the transmission. Unbolt the driveshaft from the transmission and support it to prevent it from dropping. Remove the shifter linkage and any associated hardware. Support the transmission with a transmission jack.
Unbolt the transmission crossmember and carefully lower the transmission using the jack. Ensure that all components are clear before fully removing the transmission. Inspect the engine’s rear main seal for any leaks and address them if necessary. Clean the area in preparation for the manual transmission installation. Properly dispose of the old transmission fluid.
Installing the Manual Transmission
With the automatic transmission removed, installing the manual transmission can begin. Ensure the flywheel and clutch assembly are properly installed on the engine, torqued to specification. Use a transmission jack to carefully lift the manual transmission into position, aligning it with the engine.
Gently slide the transmission input shaft into the clutch disc and pilot bearing. It may be necessary to slightly rotate the engine crankshaft to achieve proper alignment. Once aligned, bolt the transmission to the engine block, tightening the bolts in a star pattern to ensure even pressure. Install the transmission crossmember and torque it to the specified value.
Connect the driveshaft to the transmission, ensuring proper alignment and torque. Install the shifter assembly and linkage. Connect all necessary electrical connectors, including the reverse light switch and speed sensor. Double-check all connections and ensure everything is properly secured. Finally, fill the transmission with the correct type and amount of fluid.
Wiring and Electrical Adjustments
The wiring is a crucial step after installing the manual transmission. Since the 240SX was originally automatic, several electrical adjustments are necessary. The automatic transmission control unit (TCU) must be bypassed or removed. Identify and connect the wires for the reverse lights to the manual transmission switch, enabling them to function correctly.
Properly wire the neutral safety switch, or bypass it, so the car starts only when the clutch pedal is depressed. This prevents accidental starting. Connect the speed sensor wiring to the manual transmission speed sensor. Depending on the year of your 240SX, you may need to use an S14 speed sensor. Verify all wiring connections are secure and properly insulated to prevent shorts.
Consider using a wiring diagram for reference. Ensure the ECU is compatible with the manual transmission setup or repin it. Address any check engine lights. Test all electrical functions after completing the wiring.

Addressing Common Issues and Troubleshooting
Manual transmission swaps on the 240SX can present challenges. Addressing these issues promptly is essential for a successful conversion. Troubleshooting potential problems ensures optimal performance and reliability after the swap, resolving any arising complications effectively.
Speed Sensor Calibration
After completing your 240SX manual transmission swap, speed sensor calibration is a crucial step. Ensuring accurate speedometer readings and proper function of vehicle systems requires careful attention to detail during this process. Incorrect calibration can lead to inaccurate speed display and potential issues with the ECU.
If you are using an S13 transmission on an S14 chassis, remember that you might need to swap the speed sensor. Using the correct speed sensor for your car model is vital. The S14 speed sensor is necessary for correct function in S14 models. Otherwise, it can lead to speedometer malfunctions.
Calibration might involve adjusting the sensor itself or using aftermarket devices to fine-tune the signal sent to the ECU. Consult online resources and 240SX forums for specific guidance based on your setup. Proper calibration ensures that your car’s systems function correctly with the new manual transmission.
Bellhousing Compatibility
Bellhousing compatibility is a critical aspect of a 240SX manual transmission swap. The bellhousing connects the transmission to the engine, ensuring proper alignment and function. Mismatched bellhousings can prevent the transmission from bolting up correctly, leading to significant installation problems. The KA24DE and SR20DET engines, commonly found in 240SXs, have different bellhousing patterns.
While some transmissions might physically bolt up, internal differences can still cause issues. For instance, transmissions from Nissan Altimas (FWD) are not compatible. The Nissan Frontier transmission may work, but its shorter length could necessitate shifter extensions. Some free KA five-speeds have been nabbed for playing, and the bell housing is a part of the case.
Always verify bellhousing compatibility before purchasing a transmission. Research specific engine and transmission combinations to avoid costly mistakes. Using the correct bellhousing ensures a smooth and successful swap, and prevents potential mechanical damage.

Cost Considerations
Budgeting is crucial. Manual swaps range in cost. Factors include parts (transmission, clutch), labor (if not DIY), and unexpected expenses. Thorough research and planning help avoid overspending. A realistic budget ensures project completion.
Estimating the Total Swap Cost
Estimating the total cost of a 240SX manual transmission swap requires careful consideration of several components. First, factor in the price of the manual transmission itself. Used transmissions can be more affordable, but new or rebuilt units offer greater reliability and peace of mind. Clutch kits, including the pressure plate, disc, and release bearing, are essential and vary in price based on quality and performance.
Don’t forget the flywheel, which might need resurfacing or replacement. A manual transmission-specific driveshaft is also necessary. Include the cost of fluids like transmission oil. Small parts like bolts, brackets, and a new pilot bushing add to the total. Wiring adapters or a new ECU might be required.
If you’re not performing the swap yourself, factor in labor costs, which can vary significantly depending on the shop’s hourly rate and the complexity of the job. Finally, always add a buffer for unexpected expenses. Thorough research and price comparisons across different vendors will help you create a realistic budget.
